Vendor management
Let's create, maintain, and sync vendor data to ensure accurate procurement and invoice processing. This page explains how to add vendors, validate data, manage documents, and sync with QuickBooks.
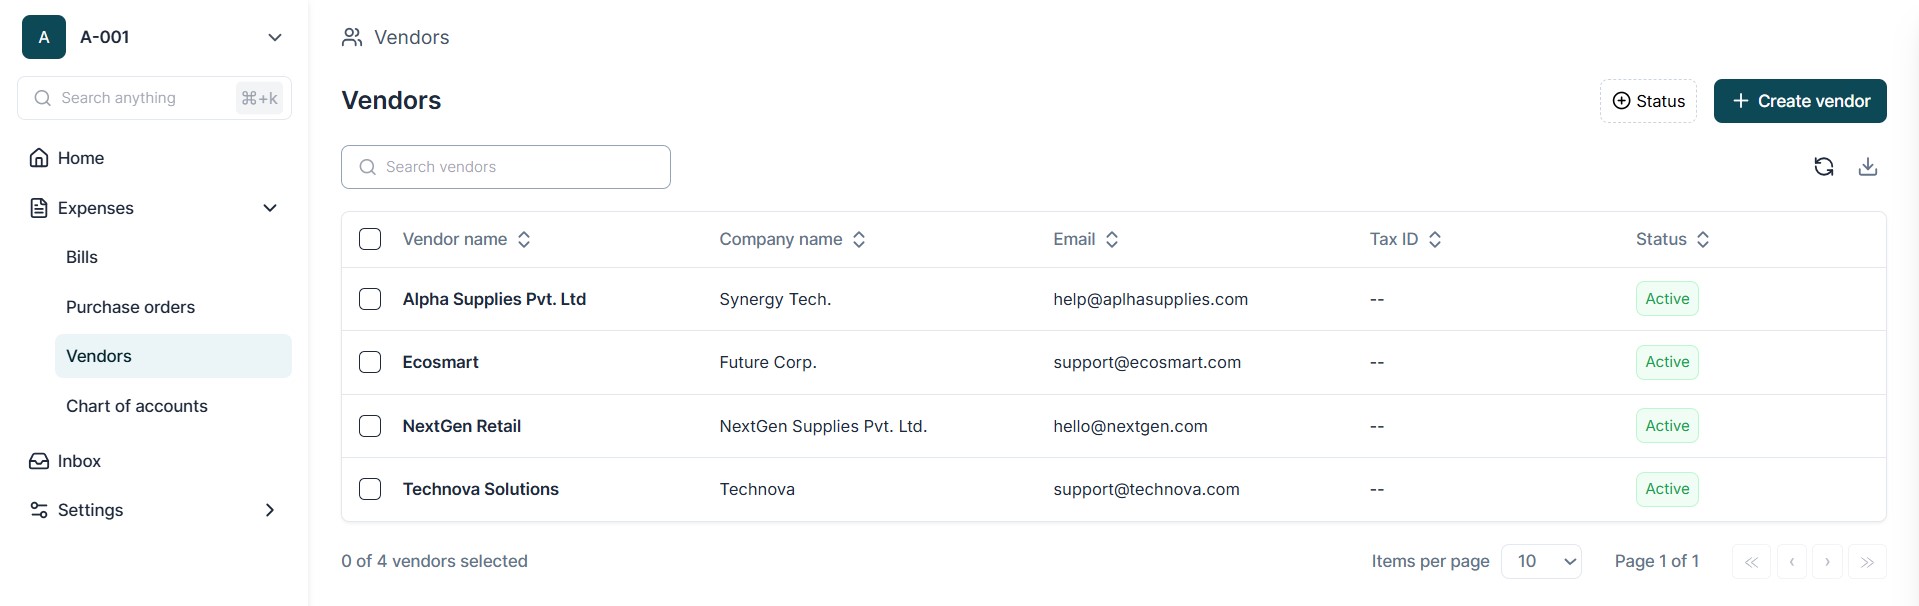
Accessing Vendor Management
- Go to Expenses → Vendors.
- Select Create Vendor to create a new vendor record, or select an existing vendor to edit. To create a new vendor record, follow these steps:
- Go to Expenses → Vendors → Add Vendor.
- Enter the Vendor Name / Legal Entity exactly as it appears on the W-9.
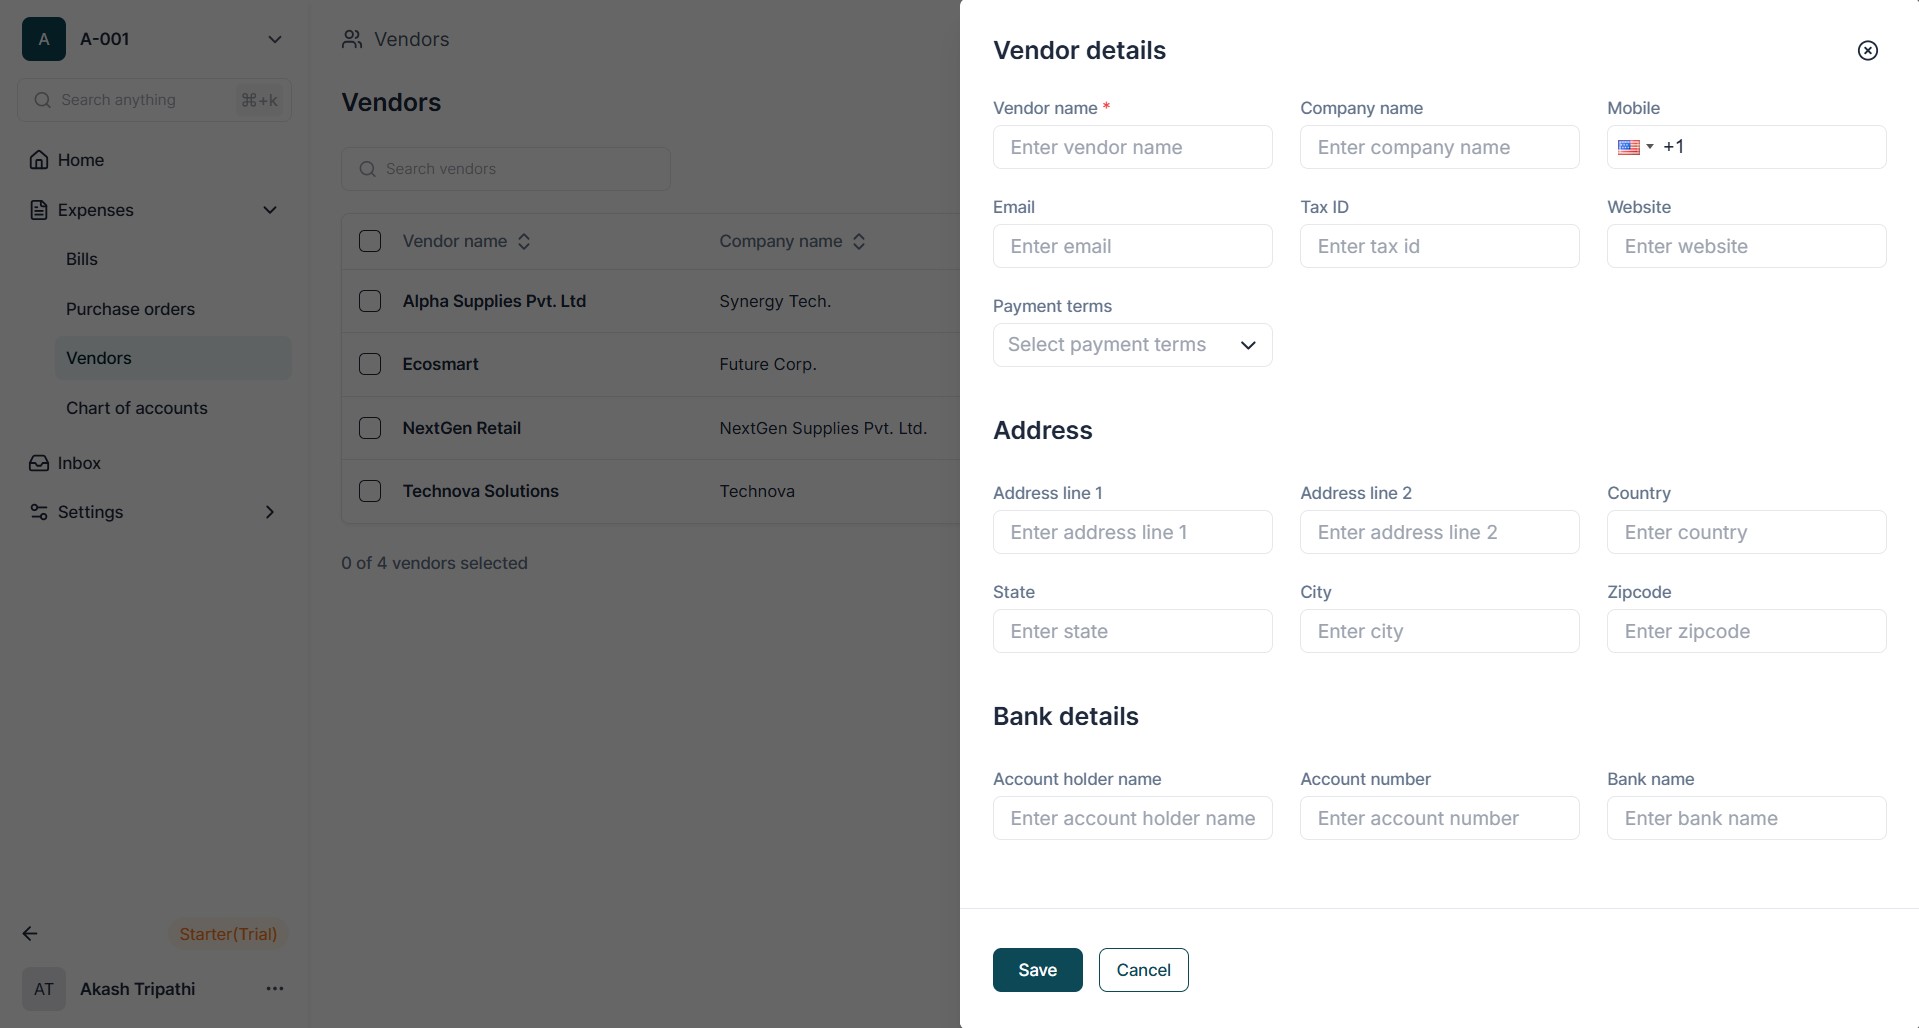
This is the only mandatory field required to create a vendor record.
- Optionally, provide additional details to maintain a complete vendor profile:
- Primary Contact Name , Email Address , and Phone Number for communication.
- Tax Identification Number (TIN/EIN) or SSN for individuals and confirm if a W-9 form is on file.
- Payment Terms such as Net 15, Net 30, or Net 45.
- Banking Details such as Beneficiary Name, Routing Number, and Account Number for ACH payments.
- Upload supporting documents if available (W-9, Certificate of Insurance, Master Service Agreement, ACH Authorization Form).
- Click Save to create the vendor record.
- The vendor will be available immediately for use in Pos and Invoices
Syncing Vendors from QuickBooks
You can import and keep vendor data synchronized with QuickBooks to avoid duplicate entries. The system provides two ways to perform the sync, both offering the same functionality:
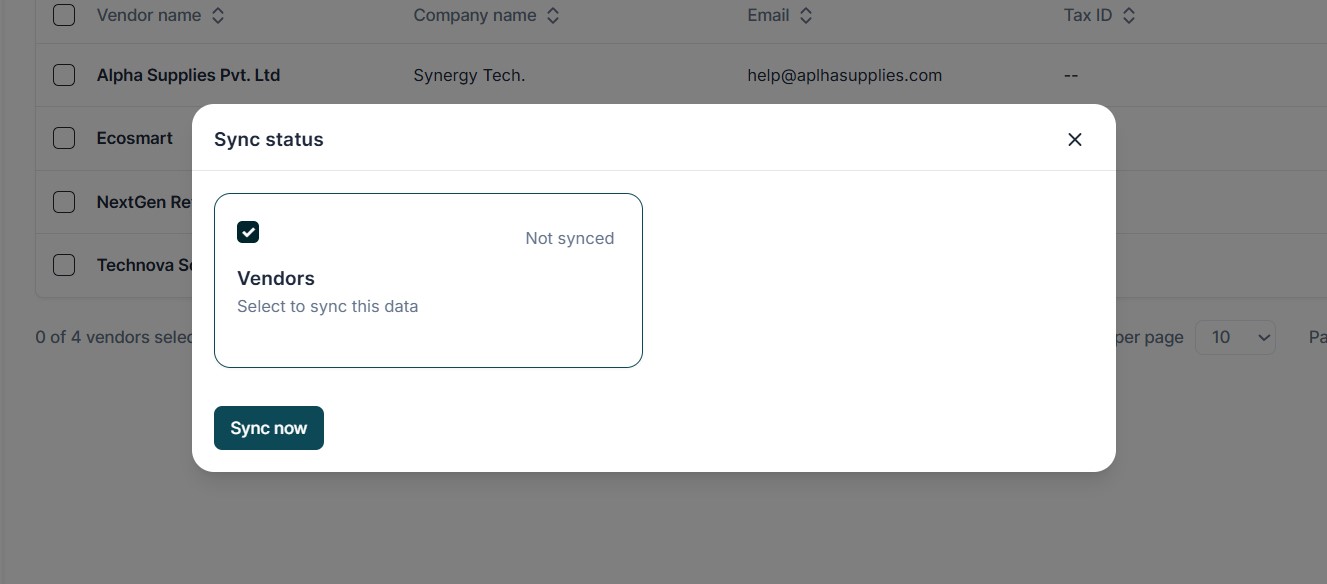
Option 1: Sync from Vendor List Page
- Go to Settings → Vendor Master.
- Click the Sync button available on the Vendor List page.
- Select Vendors checkbox to pull/Sync vendor records from QuickBooks.
- Click Sync Now to finalize the process.
- The system will fetch vendors from QuickBooks and display them in a list.
Option 2: Sync from Integration Page
- Go to Settings → Integrations → QuickBooks → Sync Button.
- Select Vendors checkbox to pull/Sync vendor records from QuickBooks.
- Click Sync Now to complete the import.
Both options perform the same action - choose whichever is more convenient for you.
Export
The page also provides an Export Icon (CSV Download option) to export vendor data for reference, audit, or offline review.
Process:
- Select the required vendor records (or leave all selected to download the full list).
- Click the Export Icon.
- A CSV file is generated with the following fields:
- Vendor Name
- Company Name
- Email ID
- Tax ID
- Status (Active/Inactive)
- Save the file locally for sharing, auditing, or keeping as a reference.
Activate or Inactivate a Vendor
Admins can manually change the status of a vendor (Active/Inactive) directly from the Vendor Page.
Steps to Change Vendor Status:
- Open the Vendor Page and locate the vendor you wish to update.
- Click on the Vendor Name to open the vendor details.
- Click the Edit Icon (pencil icon).
- Locate the Vendor Status Toggle.
- Switch the toggle:
- ON (Active): Vendor is available for selection in PO/Bill creation.
- OFF (Inactive): Vendor is blocked and cannot be selected for new transactions.
- Click Save to confirm the changes.
Inactivating vendors is recommended for those no longer in business or vendors you want to block from future transactions, rather than deleting them (to preserve historical records).
Vendor Usage in PO and Invoice Processing
- If a vendor already exists in the Vendor Master, the OCR engine will automatically fetch and populate the vendor name on Purchase Orders (POs) and Invoices.
- If the vendor is not registered , the vendor name must be manually selected or edited on each PO or Invoice before submission for processing.
Always keep your vendor master updated (via manual entry or QuickBooks sync) to minimize manual effort during PO and invoice processing.